If you have a personal blog or a website, you might wanna have a comment section that you can interact with the visitors.
As I started my blog in Next.js, I wanted to have a comment system, but I also didn't wanna create everything from scratch, because it would be a lot of work to do so. I looked for the options to implement a comment system, and I found a perfect tool called giscus.
In this article, I will explain how to set up a comment system using giscus in Next.js project.
What is Giscus?
Giscus is a GitHub Discussions-powered comment system. Here's a quick overview of giscus:
- 100% free, no ads and no tracking
- Open source
- No database needed
- Support custom themes and multiple languages
If you wanna see what it's like in action, you can simply click here or scroll all the way to the bottom of this page to test it out yourself.
Important note
Before I explain how to set up giscus, I wanna share a few things that you need to consider whether giscus is right for your project or not.
Firstly, your repository must be public because giscus uses GitHub Discussions. If the repository is private, the visitors won't be able to view the discussion.
Secondly, the visitors must have a GitHub account to leave a reaction or a comment. This should not be a problem if you are running a tech blog where you can expect your visitors to have a GitHub account, but if not, you should reconsider using giscus.
How to set up giscus in your Next.js project
I'll explain how to set up Giscus in your Next.js project. If you wanna follow the official documentation, you can check out from here.
1. Enable GitHub discussions
First, navigate to your project repository on GitHub, and make sure your repository is public.
Then, click Settings and scroll down to Discussions.

In the Discussions section, check the box to enable Discussions.
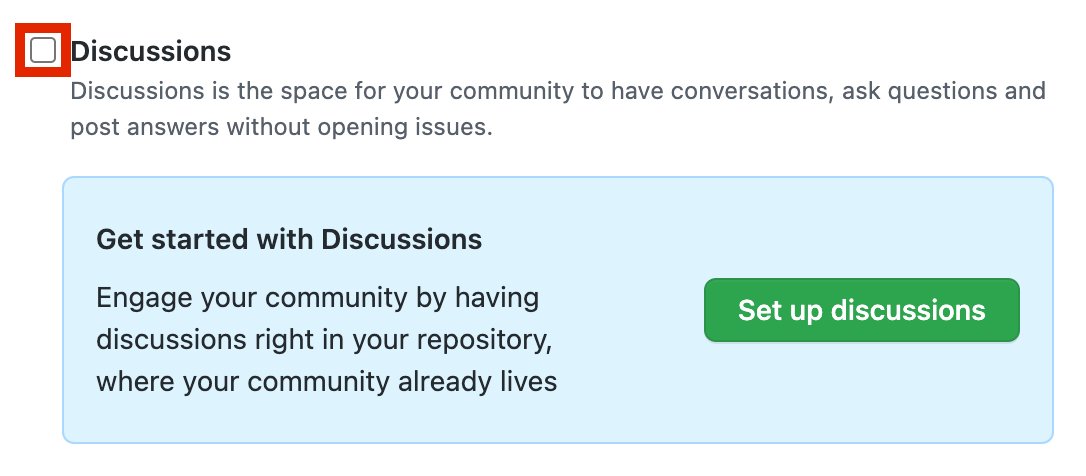
Now, you have successfully enabled Discussions in your repository.
2. Install giscus app in your repository
You need to install giscus app in your repository.
To do so, you open the giscus app page and hit the install button.
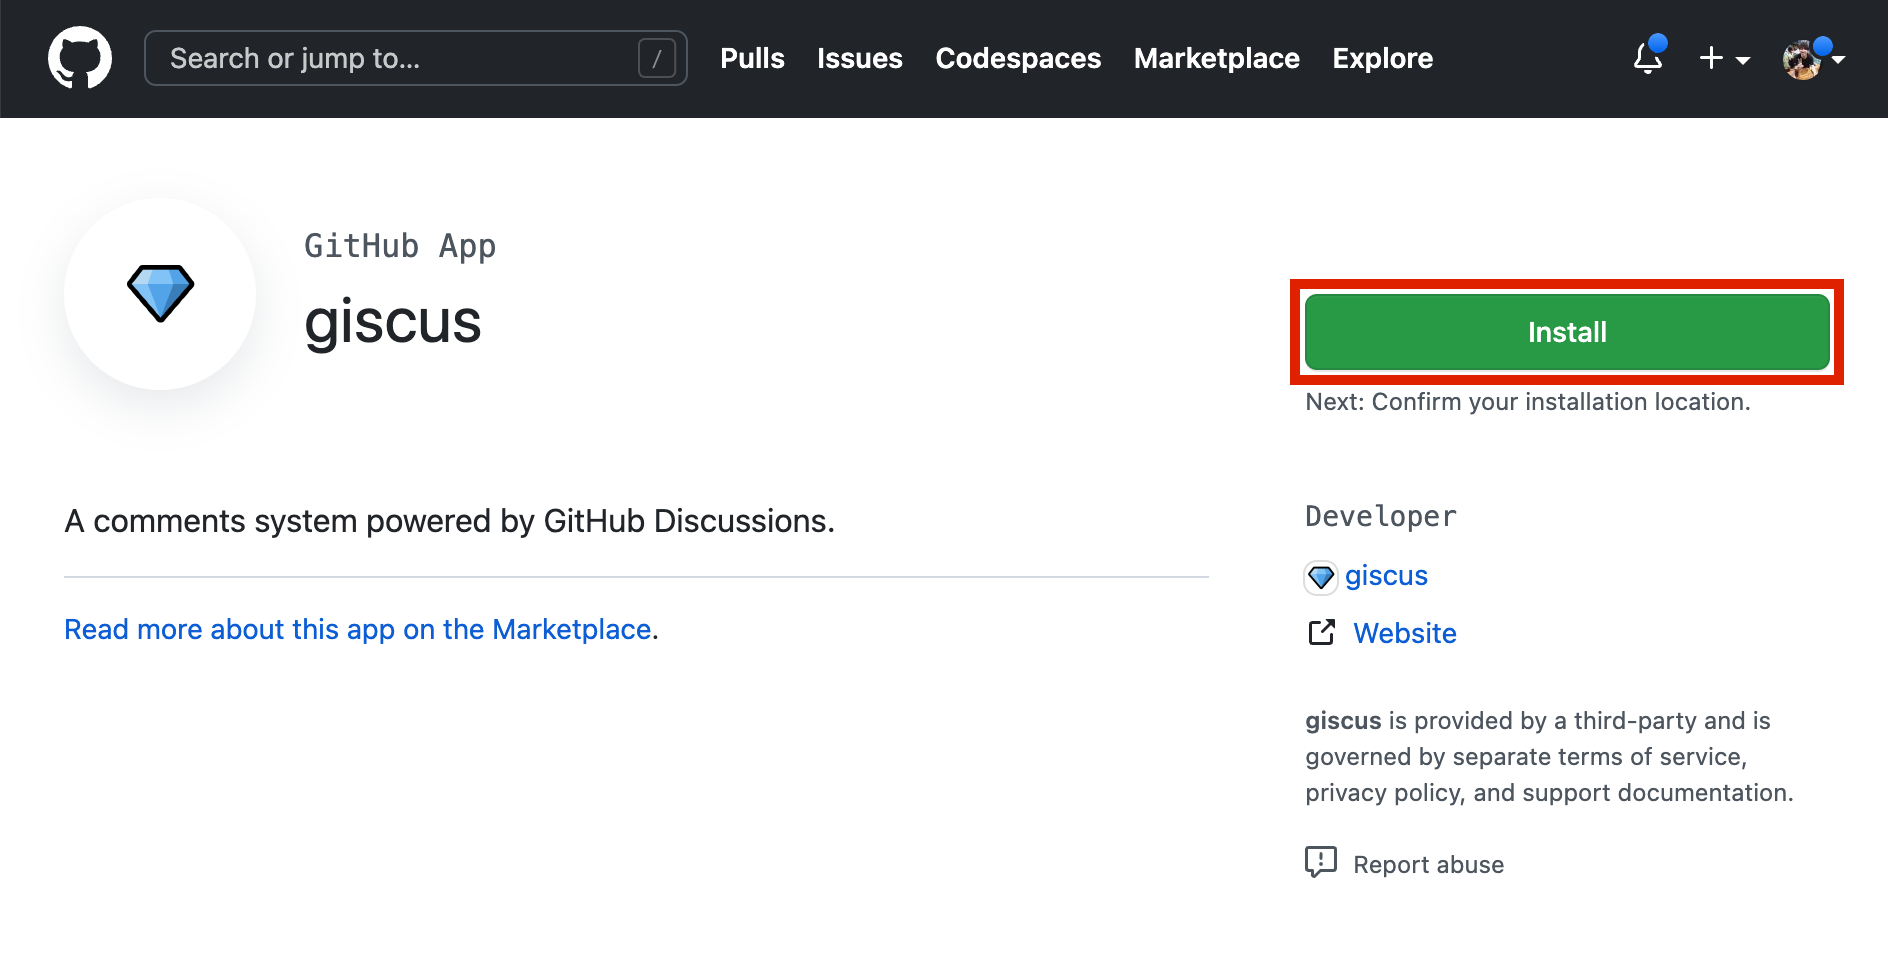
You can choose to install giscus app in either all repositories or only selected repositories that you wanna use it.
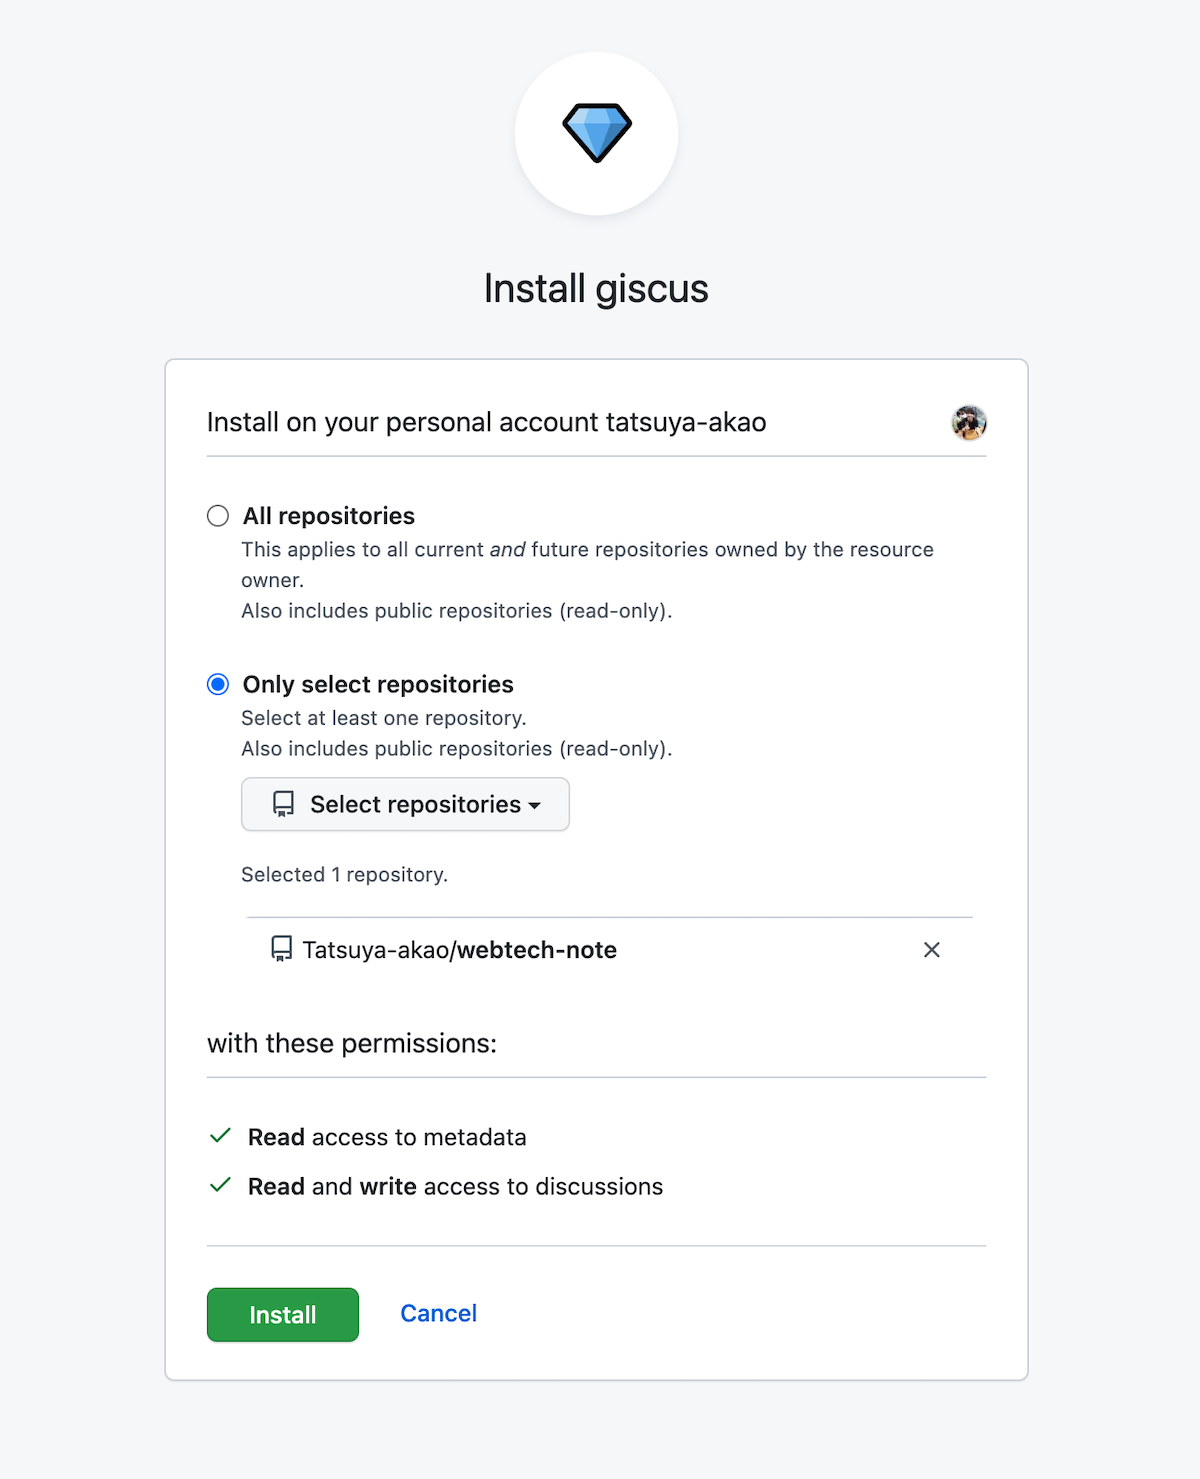
After selecting the repository, click install and wait until it's done.
3. Connect your repository to giscus
Now that you've installed giscus in your repository, it's time to connect to giscus.
First, navigate to https://giscus.app/ and go to Configuration.
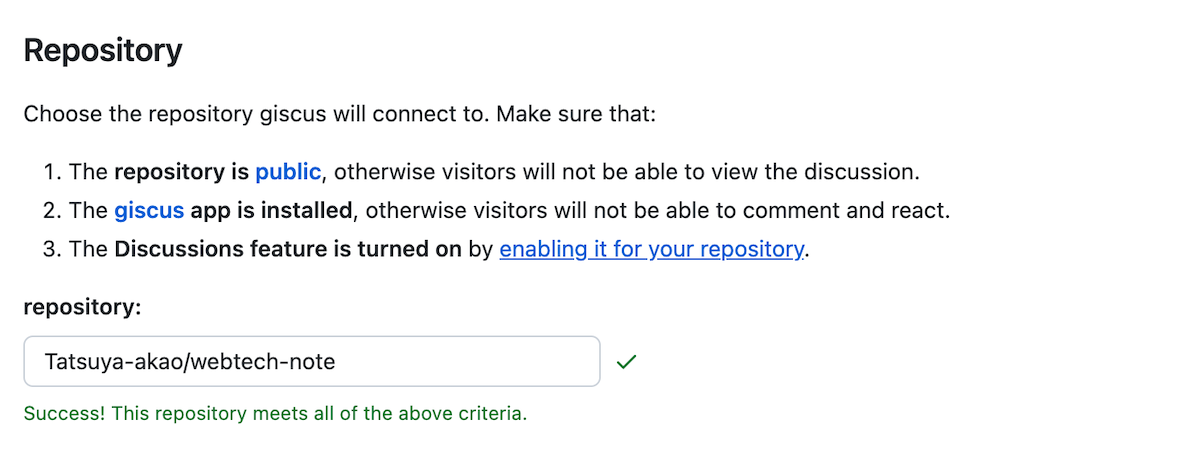
In the Repository section, type in your GitHub username and repository name.
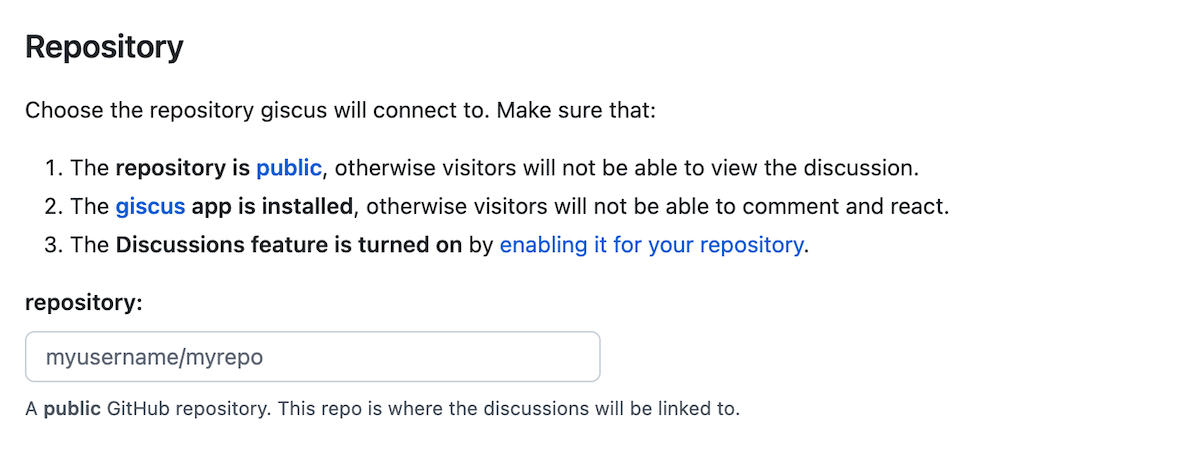
If everything is working, success message will show up.
After that, you can configure the following on your own.
- Page Discussions Mapping
- Discussion Category
- Features
- Theme
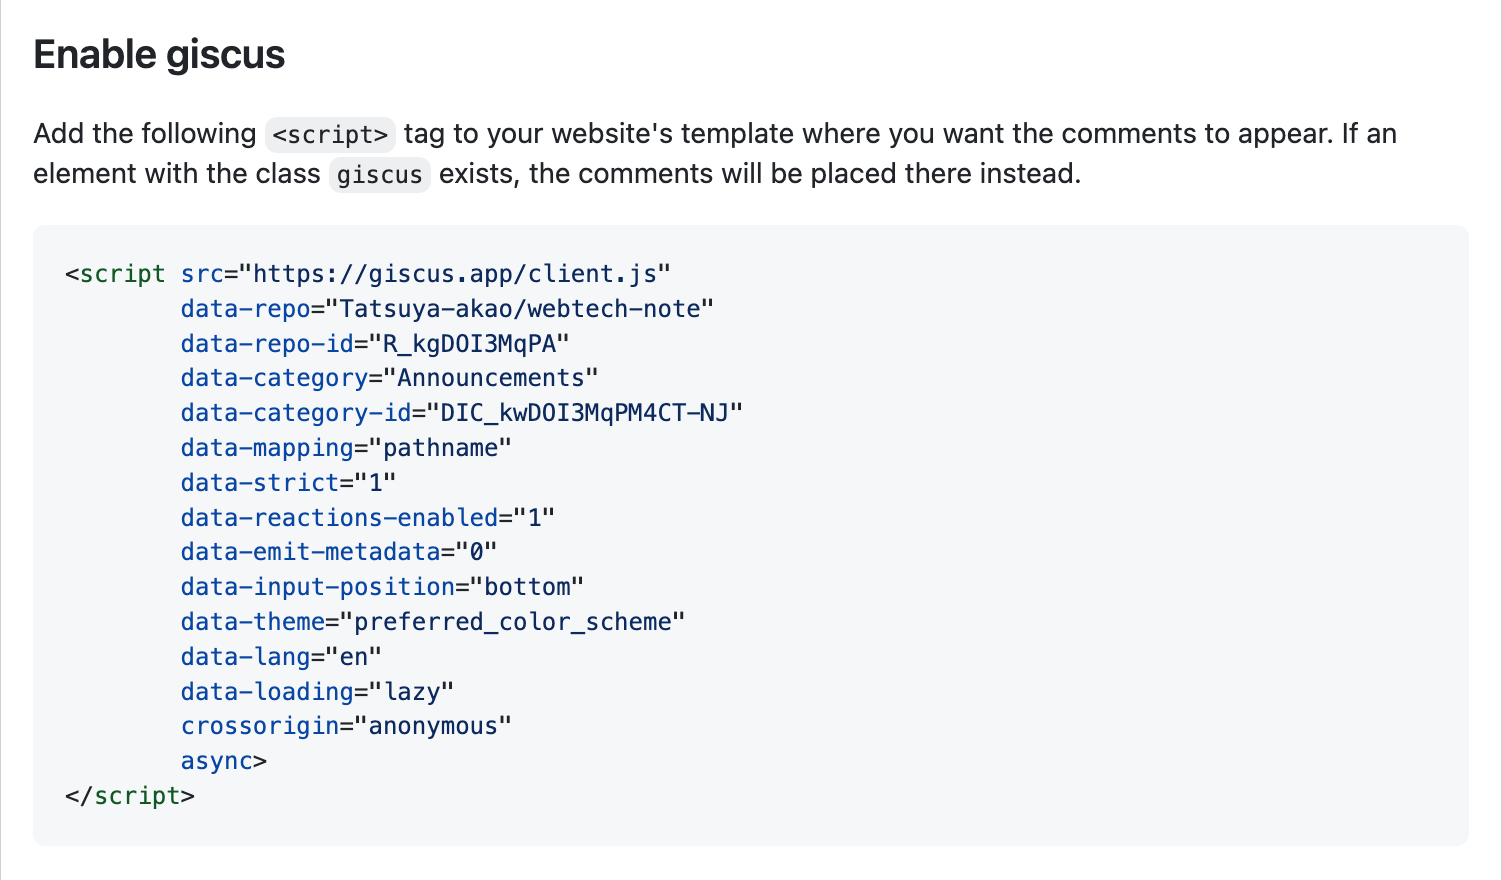
Once you configured everything, the script tag becomes available. We will use the tag in the next step.
4. Install giscus package
Giscus offers a package for creating a wrapper component.
You could actually use the script that's generated, but I personally prefer using @giscus/react package.
npm i @giscus/react5. Create a giscus component
Now, we create a component for giscus. The component should look like this:
import Giscus from "@giscus/react";

export default function Comments() {
  return (
    <Giscus
      id="comments"
      repo="giscus/giscus-component"
      repoId="MDEwOlJlcG9zaXRvcnkzOTEzMTMwMjA="
      category="Announcements"
      categoryId="DIC_kwDOF1L2fM4B-hVS"
      mapping="specific"
      term="Welcome to @giscus/react component!"
      reactionsEnabled="1"
      emitMetadata="0"
      inputPosition="top"
      theme="light"
      lang="en"
      loading="lazy"
    />
  );
}
For the props, first you got to the giscus website and copy the script tag. Then remove data- from the prop names, and write them in camelCase.
For more information, you can read the giscus-component page on GitHub.
6. Import a giscus component in a page
Now that we've finished all the setup, we only need to import and use the giscus component wherever you want.
For me, I used it in /pages/posts/[slug].js because that's where my blog contents live.
import Comments from "@/components/comments.jsx";

const PostLayout = ({ post }) => {
  return (
    <Layout>
      {/* All the contents here... */}
      <Comments />
    </Layout>
  );
};

export default PostLayout;

export async function getStaticProps({ params }) {
  // ...
}

export async function getStaticPaths() {
  // ...
}
I have omitted the unnecessary code, but this is the overview of what my page component looks like.
Now, if you navigate to the page that you set the component, you will see the comment widget successfully shown in the designated place 🎉
Enjoy interacting with the visitors by using giscus
That is all! Now you have a comment system in your Next.js project, without setting up a server.
I hope you find this article helpful, and please leave a reaction or comment if you wanna test it out in here.